{ READ ABOUT IT or SCROLL TO THE END TO WATCH ABOUT IT }
Where do ideas come from? Heck if I know! But there is one question I can answer: Where do paintings come from? Sit back while I reveal the complete process behind The Jobs of Yesteryear.
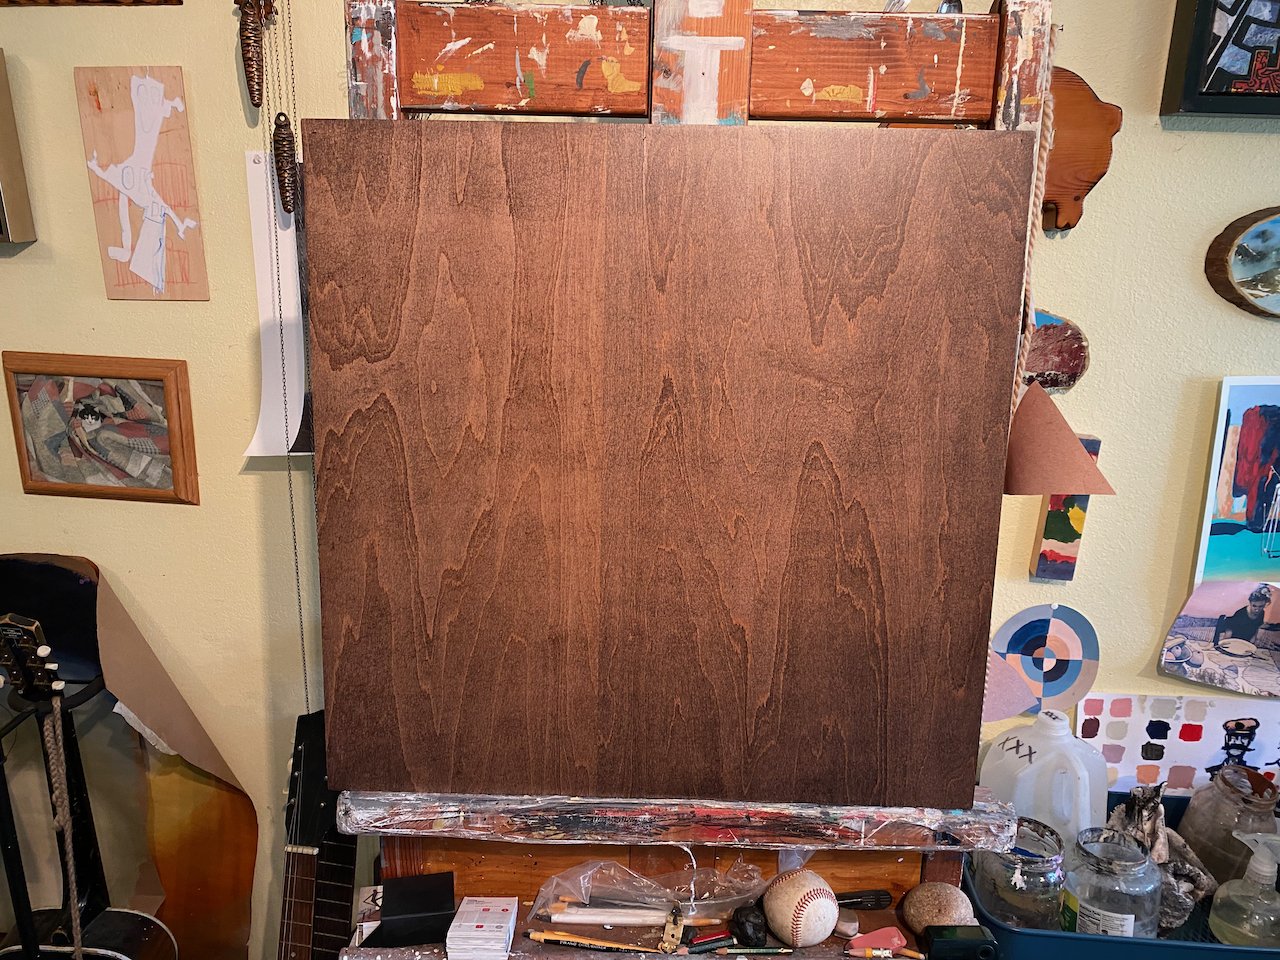
It begins with wood. The wood panels I paint on are composed of maple plywood and a pine frame. I order most of my panels from my (almost) twin brother Lucas, who has set up shop selling panels (www.oddjobpanels.com). The first step is to stain the panel and coat it with a couple of layers of polycrylic.
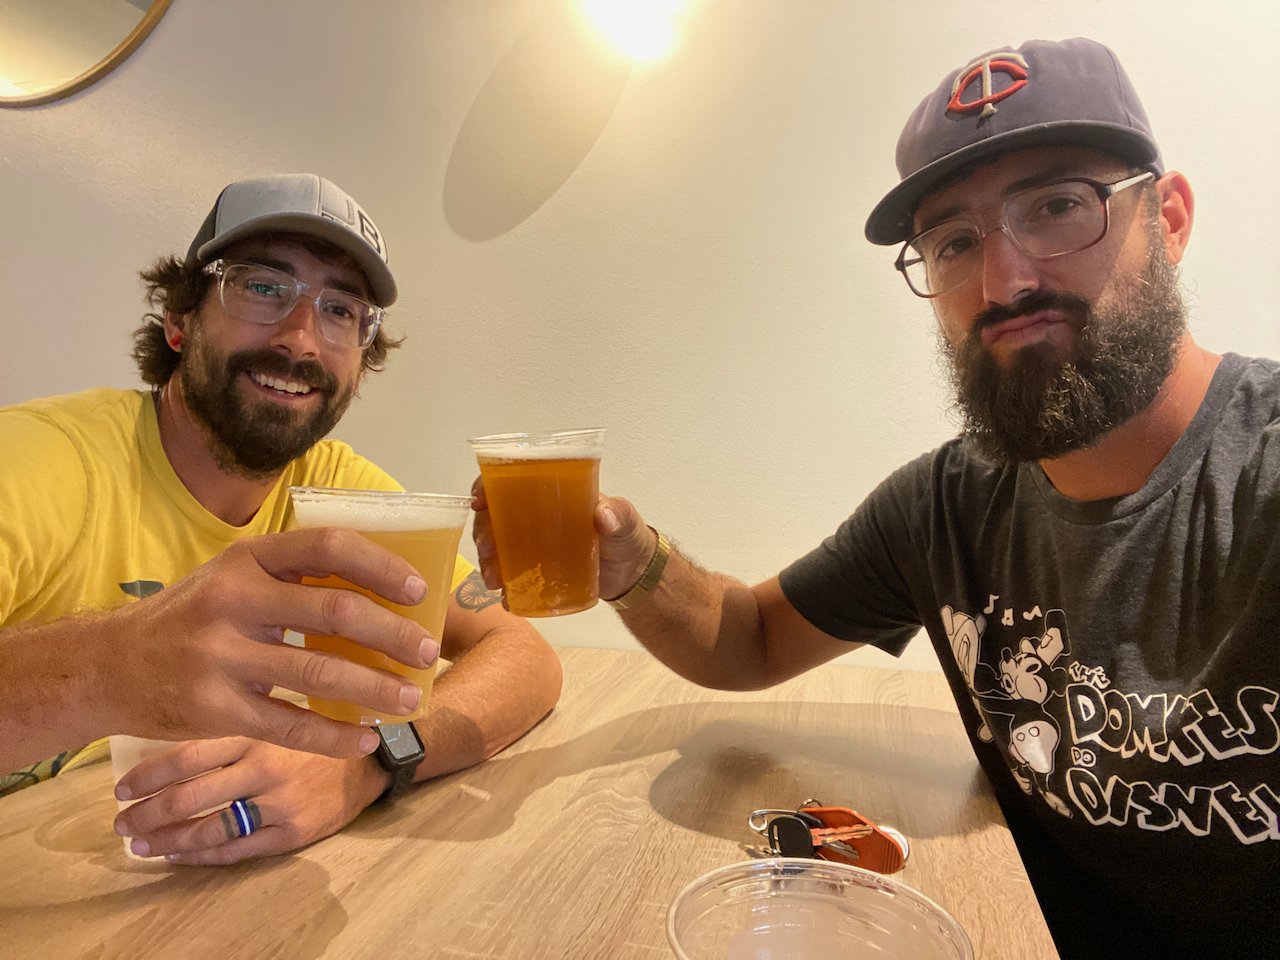
The said almost twin brother, Lucas.
Next comes the dream phase. I get out my sketchbook and draw little sketches of the planned painting, figuring out the overall composition. “Stay loose,” I tell myself, for this is not the time to sweat the details.

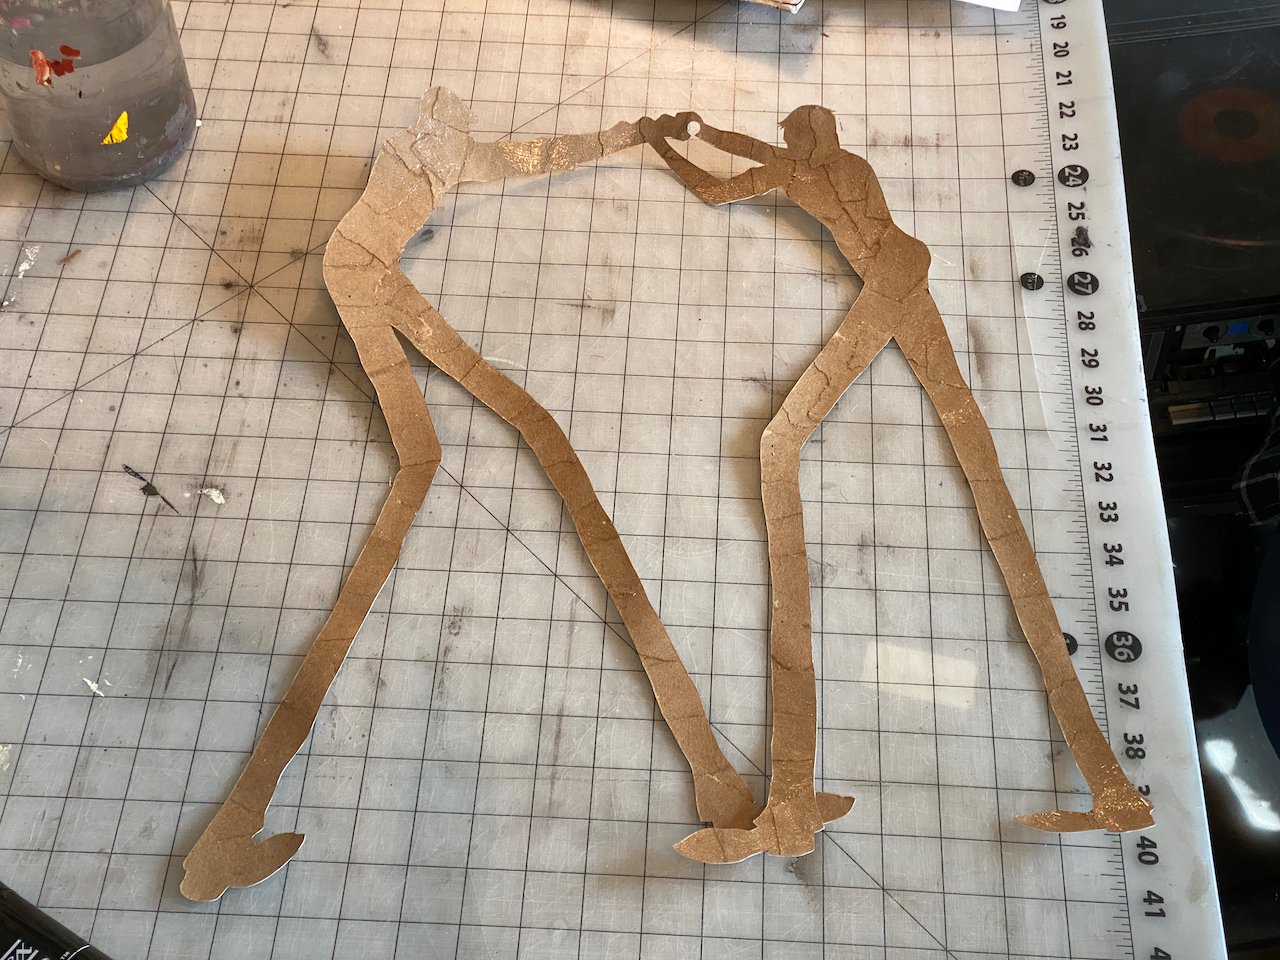
After sketching out a general direction that I like for the painting, I start with a workers. I lay a piece of watercolor paper on top of the panel and begin to draw the shape of the workers, using reference photos and my little sketch to get the scale and posture right.

Once the drawing looks right, I fetch my trusty X-acto knife and cut the character out. Using the cutout to get the correct perspective and scale, I then lightly sketch in the background using a white china marker.

Now it’s time to cover the workers in torn pieces of brown kraft paper. I use PVA, a book binding glue that is acid-free and very sticky, both for the collage process and for the later step where I glue the workers onto the panel.

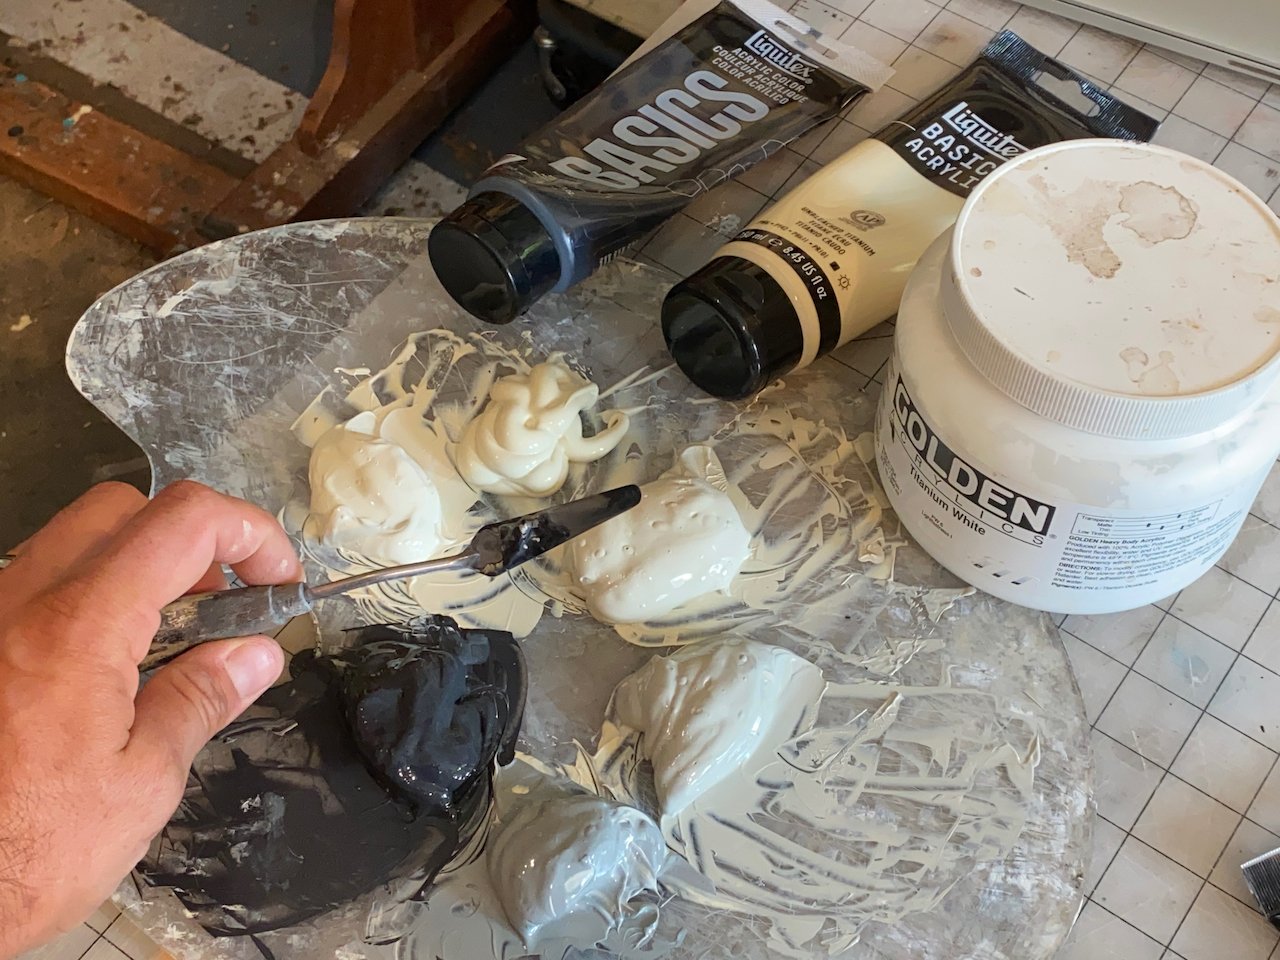
After the workers are entirely covered, I put them aside to dry and get to work painting the background. I only use three tubes of acrylic paint when I paint The Jobs of Yesteryear: mars black, titanium white, and unbleached titanium. For these three hues, I mix all of the wonderful warm grays I can dream up.
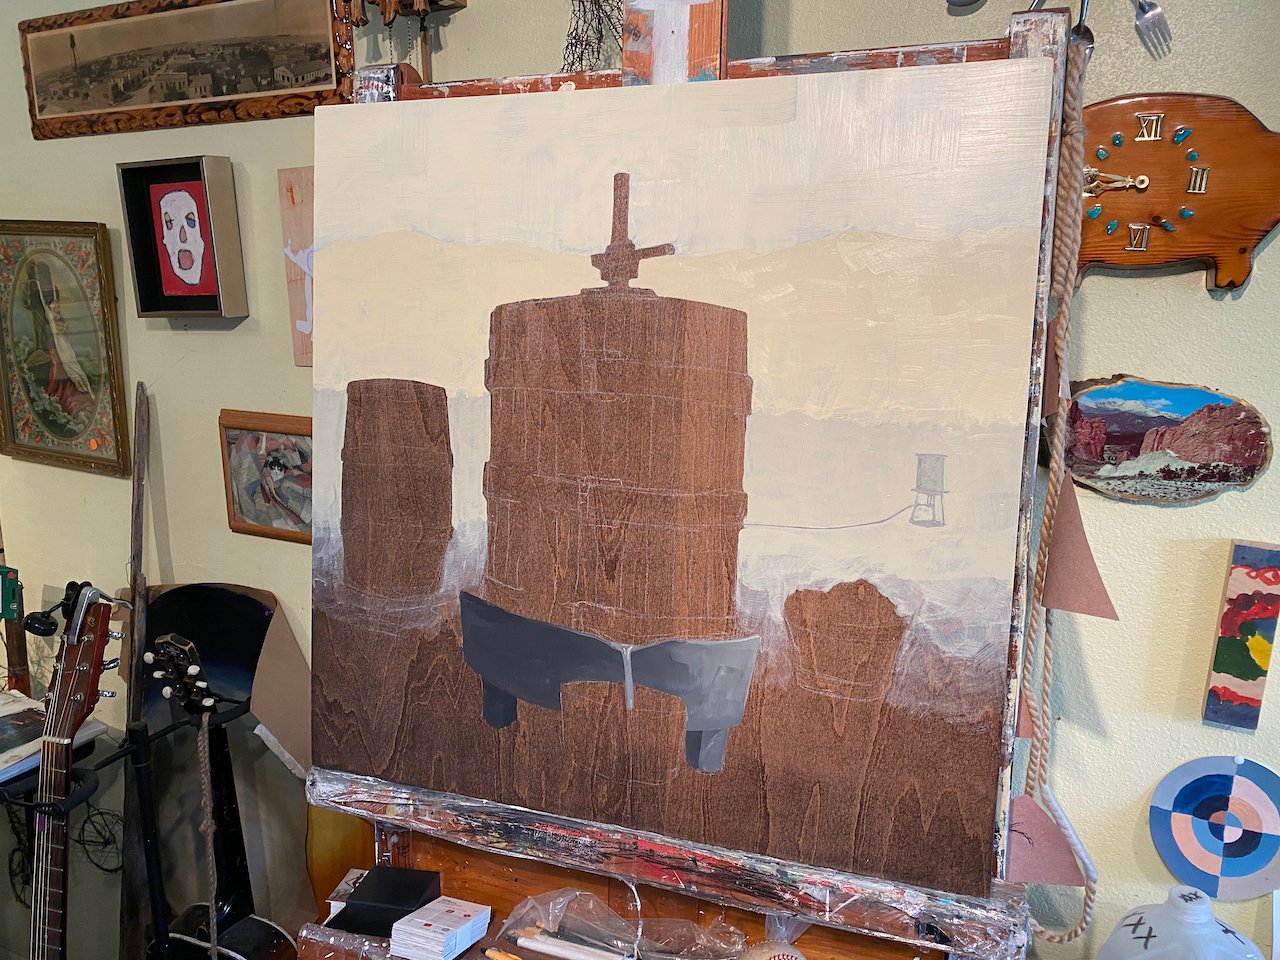
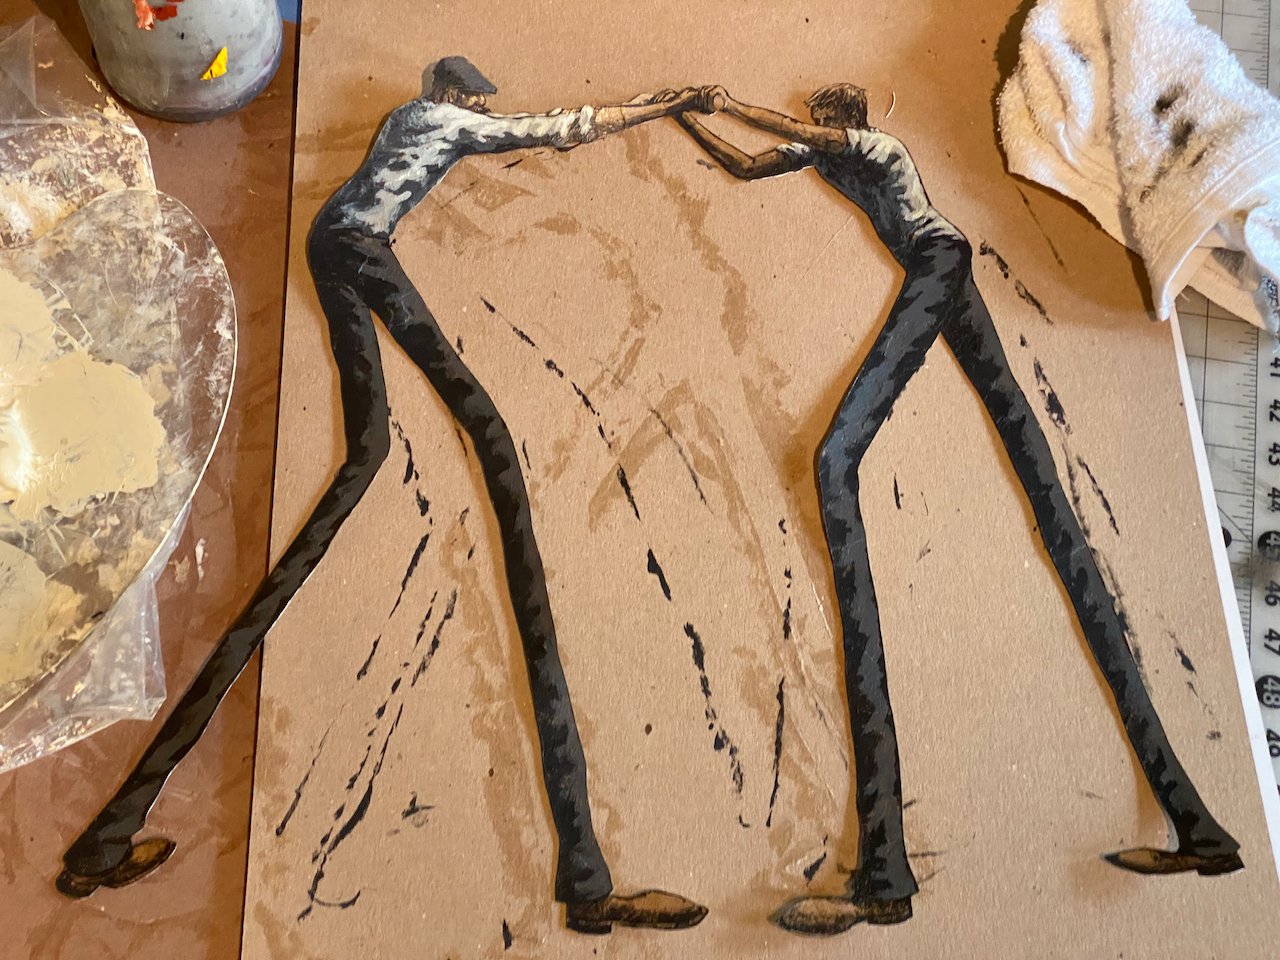
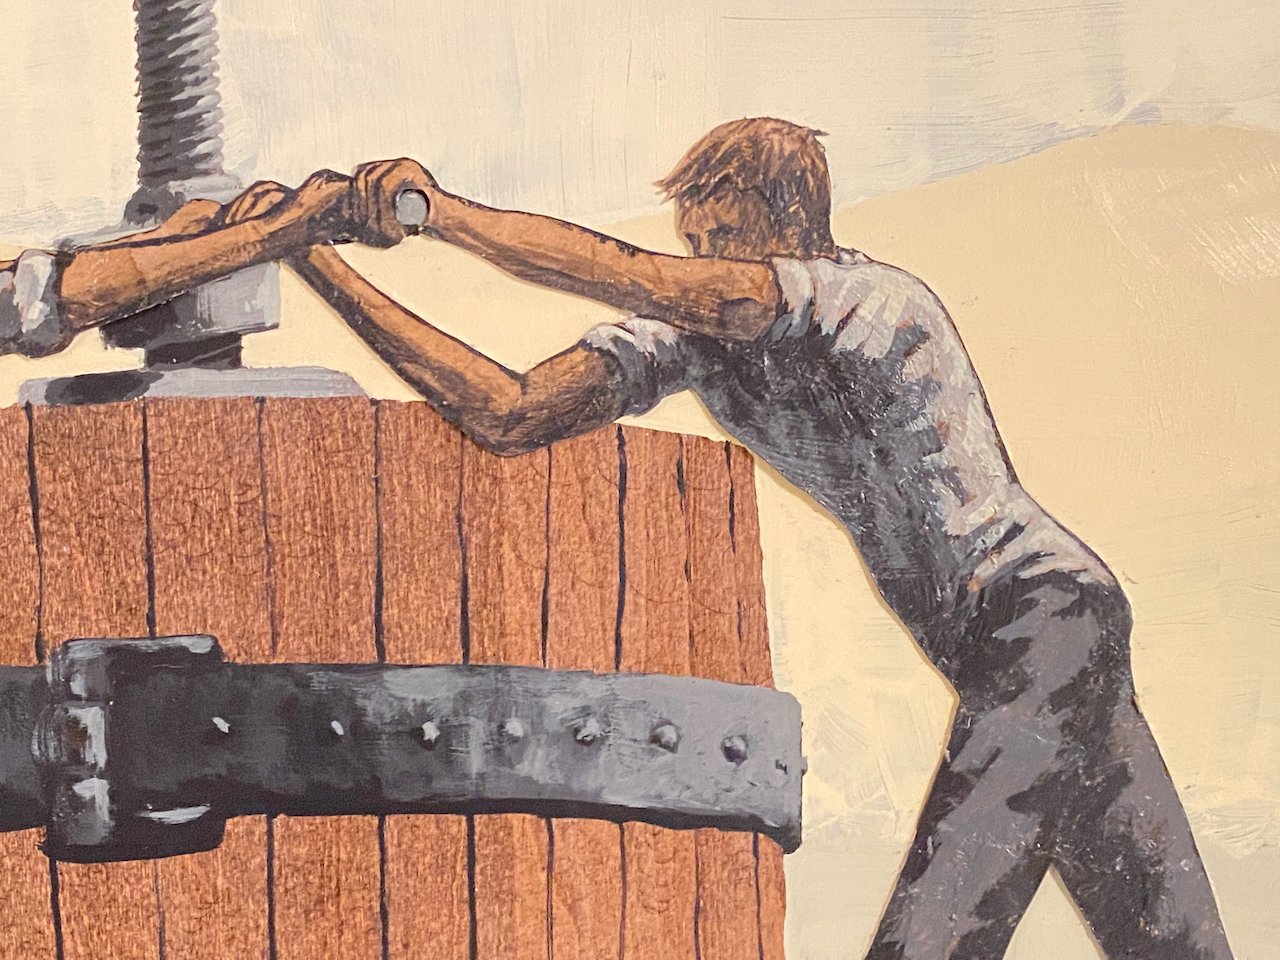
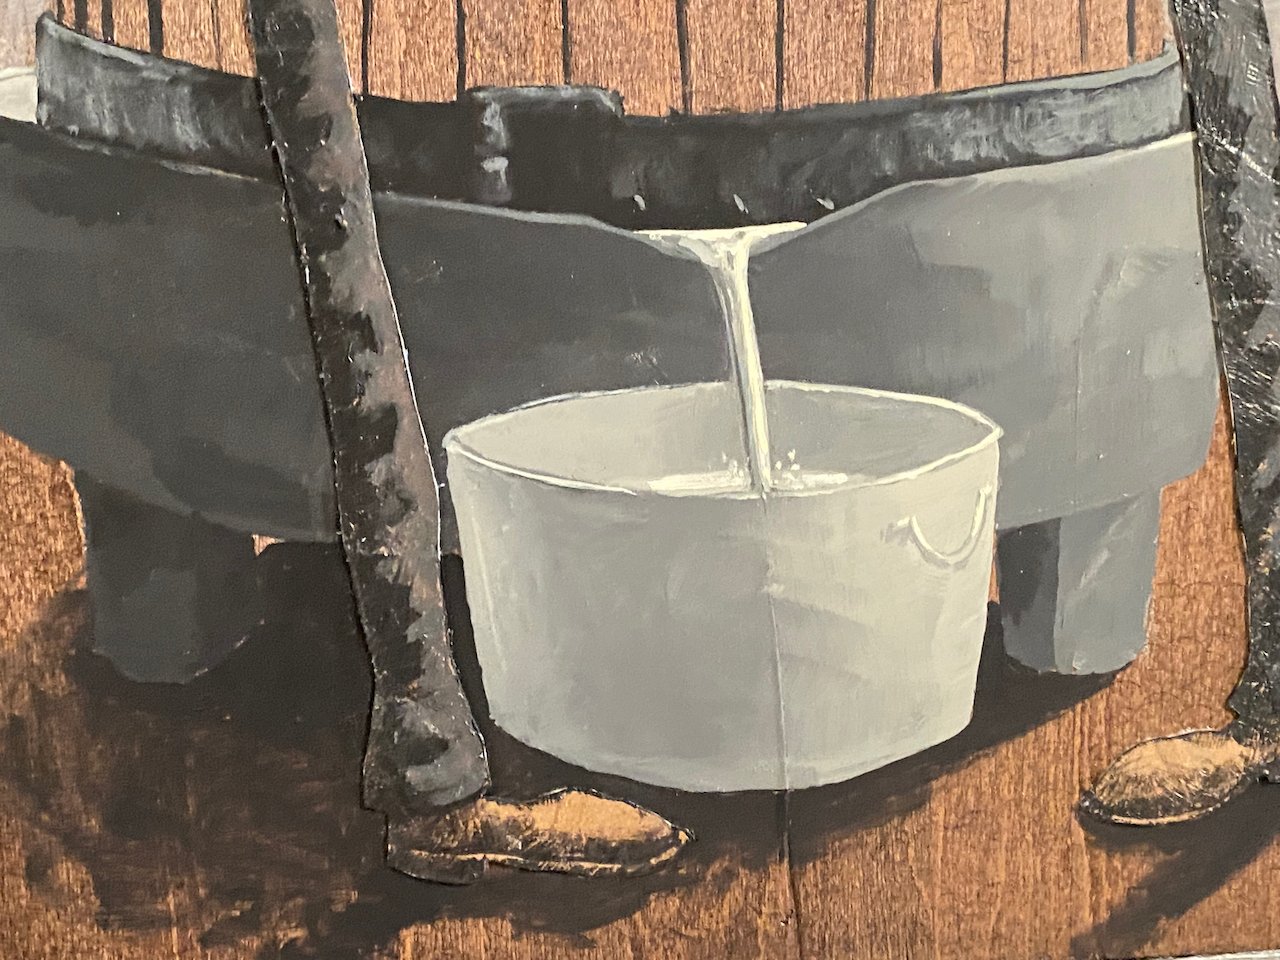
Once the background is in ship shape, it’s time to trim the excess paper off the workers and paint them up. I trim from the back where I can carefully follow the shape of my cutout drawing. What’s left when I flip it back over is the silhouetted shape of the worker I drew, but now covered in a nice brown tone and subtle torn-edge texture. I paint in the details of the workers, their lifeless silhouettes coming to life in full regalia, long pants and all. Almost there!
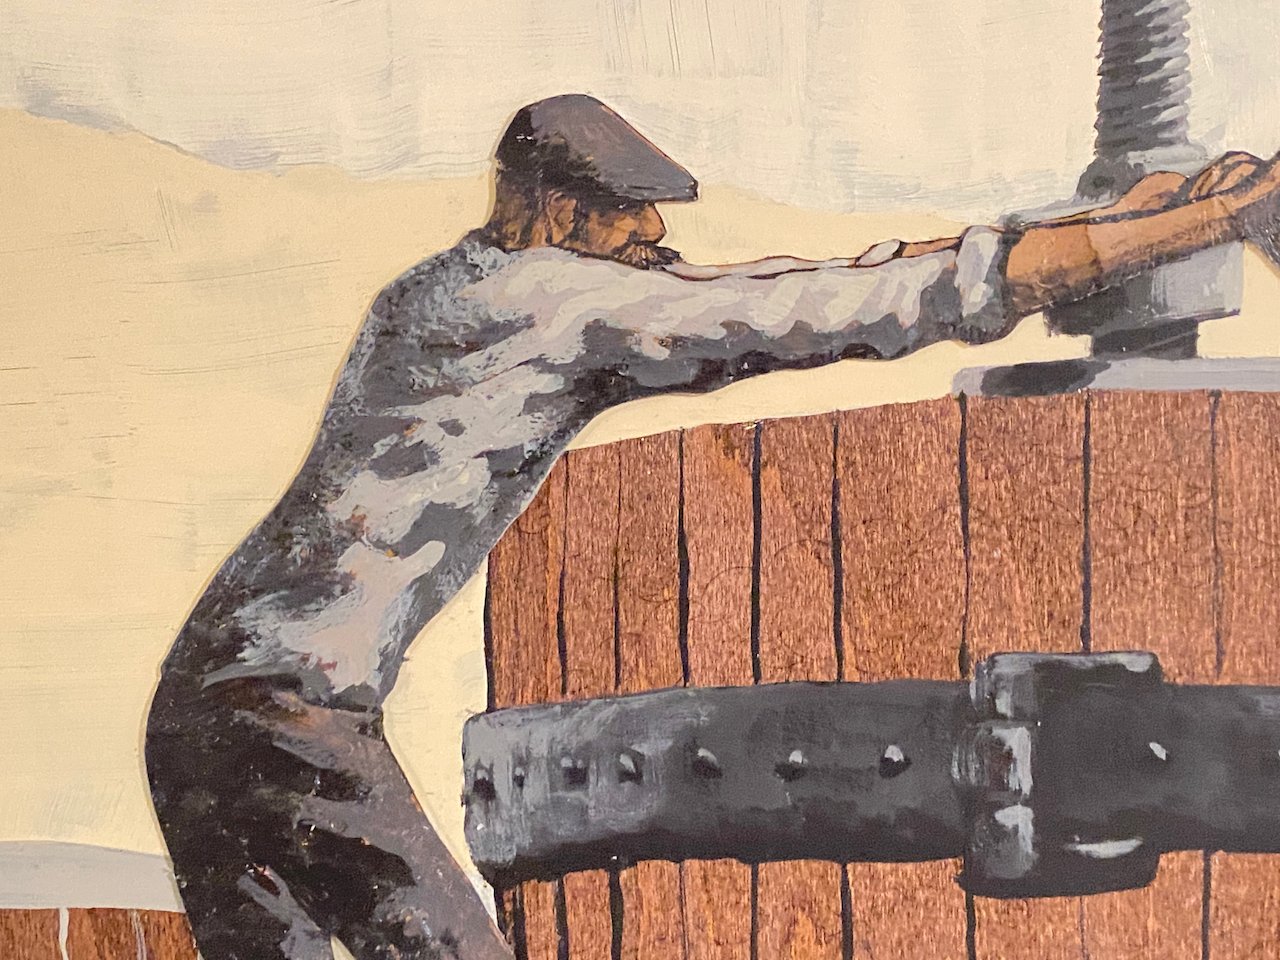
The last step is to glue the worker onto the background I’ve painted. I shplurp out some PVA, quickly cover the entire back of the collaged figures, and swiftly flip the workers over into place on the wood panel. Speed is necessary as I need to get them in place before the glue has a chance to set. Go go go!
Once this technical hurdle is overcome, I put the painting back on the easel and give it a looky-loo. I’ll add shadows and any other finishing touches my eye decides on before cutting out a little TV and pasting it into the corner for my signature. Then it’s time for a victory dance! Hooray, hoorah, la-dee-dah! Another painting in the books!

As final finishing steps, I coat the entire painting with an isolation coat (thinned gel gloss medium) and then add a satin varnish to protect the finished painting for generations to come. Hot diggity dog, that’s how it’s done!

Now that I see my process all written down, it sure seems like quite a to-do but in practice, it’s very fluid and a (mostly) enjoyable process. I’ve now used this process for 200+ paintings and it’s a new adventure every time I pick up the paintbrush.
Thank you all for coming along on this journey in art and life. Please feel free to reach out with any questions about how it’s all done. As for where ideas come from, well, you’re on your own.
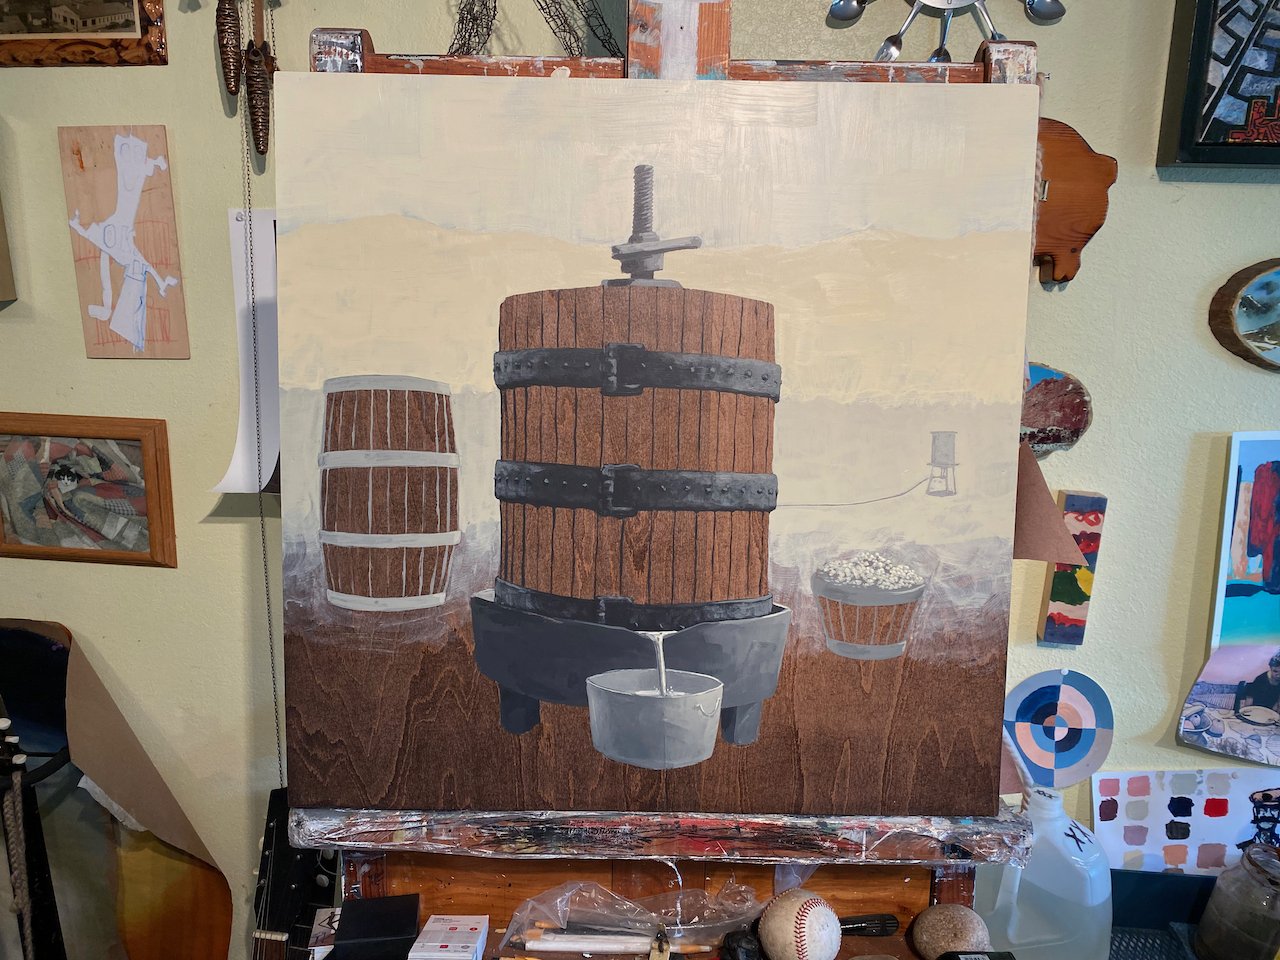
This painting, The Grape Crushers, along with a handful of other new paintings will be available exclusively to Patrons on Patreon next week - join HERE to get access to all new paintings first along with other perks.